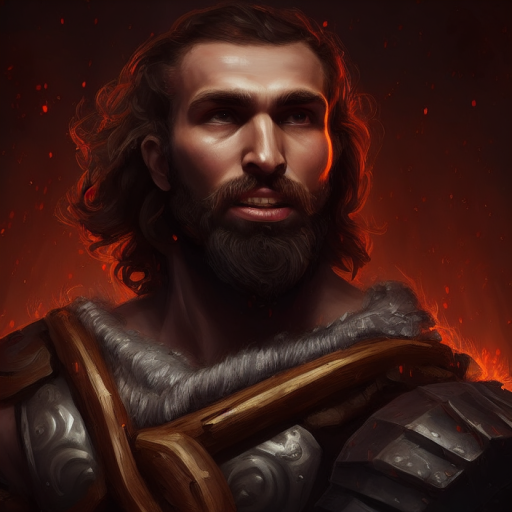
Creating custom AI portraits has never been easier thanks to the Imagine Me website. Whether you’re a seasoned artist or just starting out, our user-friendly platform offers a range of tools and features that will help you turn your ideas into stunning Ai art. Here’s a step-by-step Starting Guide to get you started with Imagine Me
Step 1. Create an Account
Go to https://imagineme.ai/sign-up/ and create an account.
Step 2. Get Credits
To get started you’ll need to purchase some credits first. Imagine Me uses a credit system, where credits are used to generate images. With one credit you can generate four images. You can purchase credits through the “Buy Credits” button in the dropdown menu. Once you have your credits, you can begin uploading your model.
Step 3. Train your Model
Once you have purchased your credits, you can begin uploading your models. To do this, click on the “Create Model” button on the prompt page. This will bring you to the upload model page, where you can name your new model and select the training images. You’ll need at least 10 images for the AI to create good results, so be sure to choose a range of high-quality images that accurately represent the person you want to create a portrait of. Read more about creating a model.
Step 4. Imagine Yourself
Once your model has been trained, you can begin creating your ideas. To do so, select your model on the prompt page, input a text description of the image you want to create, and then click on “Imagine”. The AI system will then use this information to generate four images of you based on your text description.
Still not convinced? Check out the showcases page to see the incredible images that you can generate with Imagine Me. Our ever-growing showcase is filled with inspiration. You can select different filters, search for specific examples and easily apply the prompts to yourself.


